The User Management page allows administrators to manage who has access to the imper.ai console. This page does not control who is protected by imper.ai — it controls console access only (Admins, Analysts, Viewers, etc.).
From this page, Admin users can:
Add new users
Invite users to the platform
Modify user roles
Remove user access
View user status and audit details
Manage multi-tenant administrative rights
Only Admin-level users may make changes in this tab.
Accessing User Management
To open User Management:
Log in to the imper.ai console.
Navigate to Settings > User Management.
This page displays all users who can log into the imper.ai console (not the protected users list).
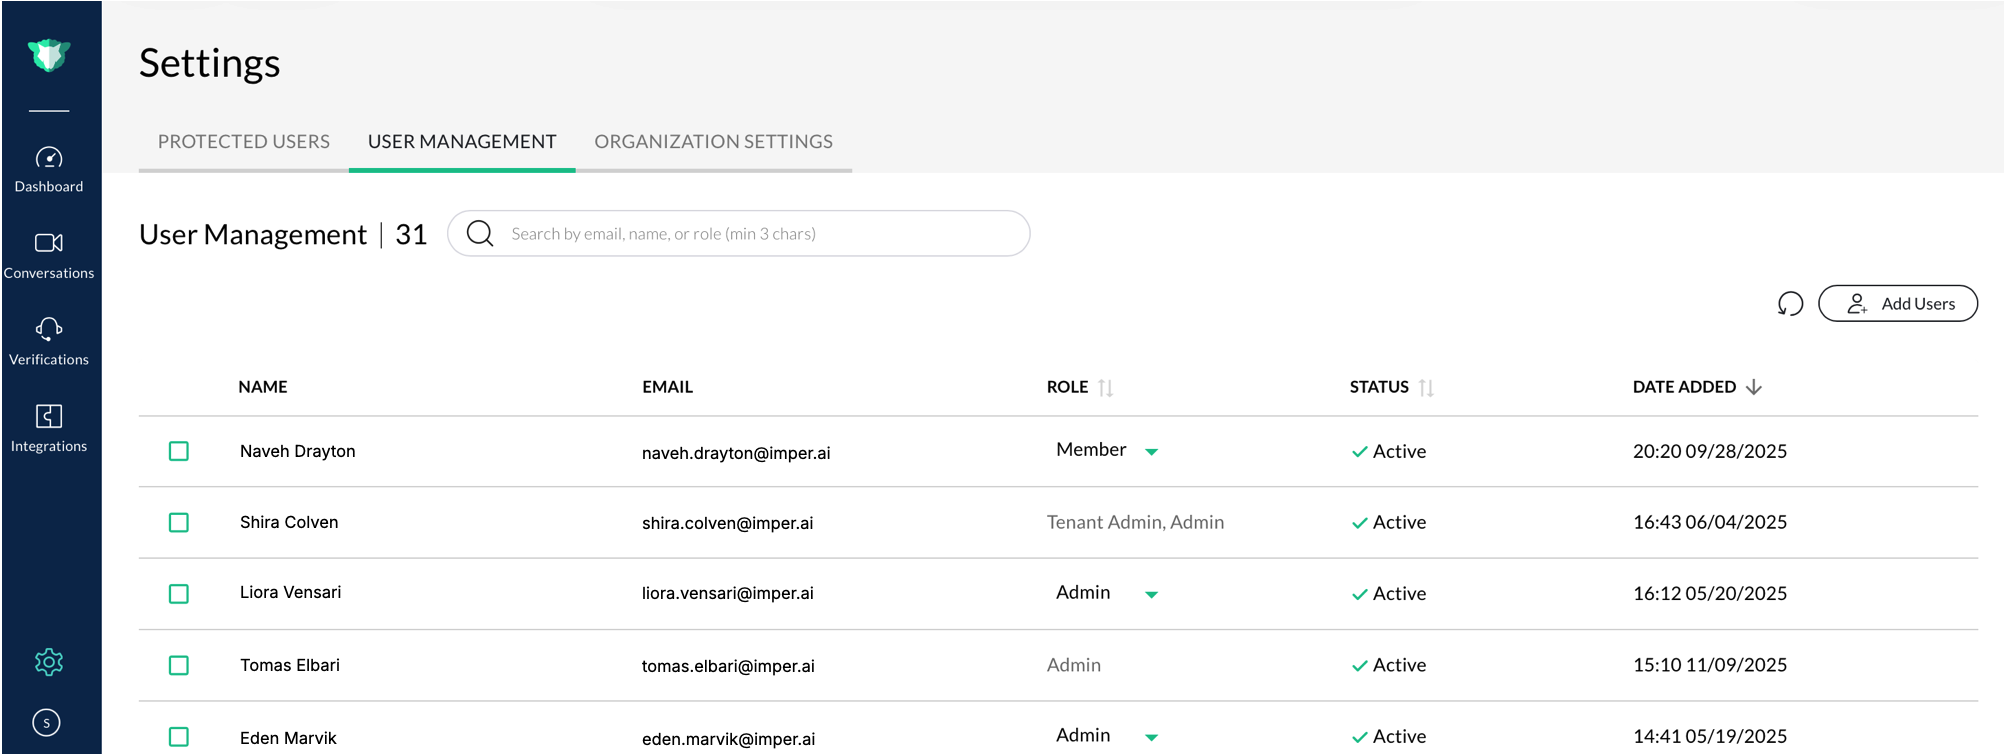
User Management table showing all console users, their roles, and available actions
Adding Users
Click Add Users.
In the Add users dialog, enter the user’s Full Name and Email Address.
Select a Role from the dropdown:
Admin: Full access to all settings, user management, and organization configuration.
Member: Limited access to operational areas such as dashboards and conversations.
Tenant Admin: Administrative rights across multiple tenants.
Click Invite.
The user appears in the table with their Status set to Active and a recorded Date Added.
Managing Users
The User Management table provides a complete overview of users and their roles.
Column | Description |
|---|---|
Name | Displays the full name of the user. |
The registered email address used for login. | |
Role | The user’s access level within the organization. Click the dropdown to modify the role. |
Status | Shows whether the user is currently Active or Inactive. |
Date Added | The date and time when the user was first added to the organization. |
Editing or Removing Users
Edit a user’s role
Click the dropdown in the Role column.
Select a new role.
A confirmation banner appears once successfully updated.
Users can hold multiple roles depending on organizational needs.
Remove (Delete) a user
Select one or more users in the table.
Click the trash icon.
Confirm by selecting Proceed.
Deleting a user permanently removes their access and cannot be undone.
Resend Invitation
Click the envelope icon to resend a platform invitation email to selected users.
Useful for users who never activated their account.
Refresh List
Click the refresh icon to reload the most up-to-date user list.
Searching, Sorting & Filtering
You can refine the user list using:
Search Bar
Search by name, email, or role
Minimum 3 characters required
Sorting
Click any column header (Name, Role, Status, Date Added)
Pagination
Navigate through large user lists at the bottom of the page
User Management vs. Protected Users
User Management = console access
Protected Users = identity protection coverage