Integrating CyberArk with imper.ai allows the platform to securely reset passwords through your existing CyberArk environment.
Once connected, imper.ai can trigger password resets as part of identity verification workflows, improving remediation controls and ensuring a secure end-to-end process.
This article walks you through the required prerequisites and the steps for onboarding the CyberArk Webapp and service account, configuring permissions, and completing the integration inside imper.ai.
Prerequisites
To integrate CyberArk with imper.ai, you must:
Have CyberArk Global Admin permissions
(or equivalent privileges to add Web Apps, create service users, and assign roles).
Have access to CyberArk Identity Admin Portal.
Be able to upload the Imper Webapp package provided by imper.ai.
Be able to create service accounts and assign role permissions required for password reset operations.
Important
You must be a CyberArk Global Admin to complete this integration.
Upload the Imper Webapp
Log in to the imper.ai console.
Navigate to Integrations in the left navigation panel.
Locate CyberArk (Internal System) and click Connect.
Click the Imper Webapp link to download the Imper Webapp.zip file.
.png)
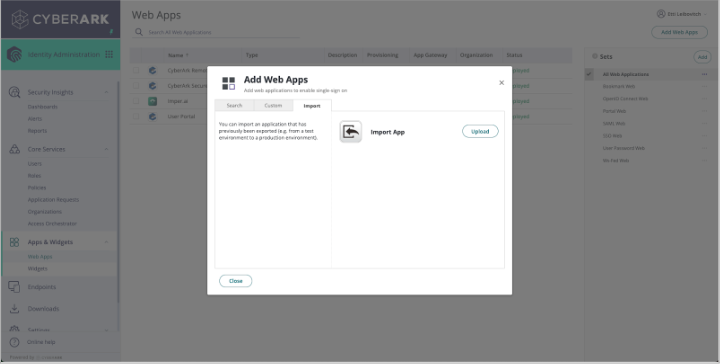
In your CyberArk Identity Admin Portal, navigate to Apps & Widgets > Web Apps > Add Web Apps > Import.
Select the Imper Webapp file.
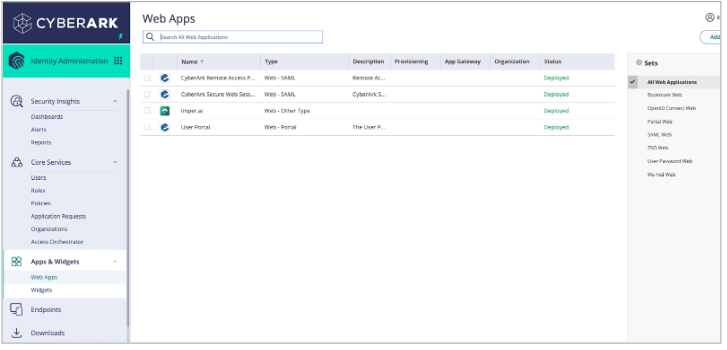
Click Upload to upload the Imper Webapp file.
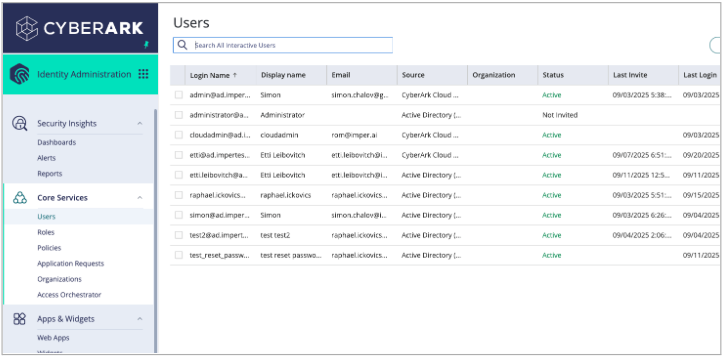
Create a CyberArk Service User
Create a dedicated service user for imper.ai to perform password reset actions.
In CyberArk Identity Admin Portal, navigate to Core Services > Users.
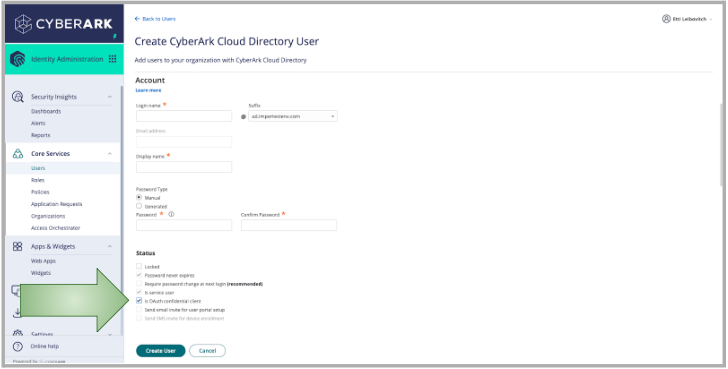
Click Add User.
Enter the required details:
Login name
Email address
Display name
Password
Under Status, check Is OAuth confidential client.
Click Create User.
Important
Save the Login Name and Password in a secure location. These credentials will be required when completing the final configuration in imper.ai.
Configure Role and Assign to User and Application
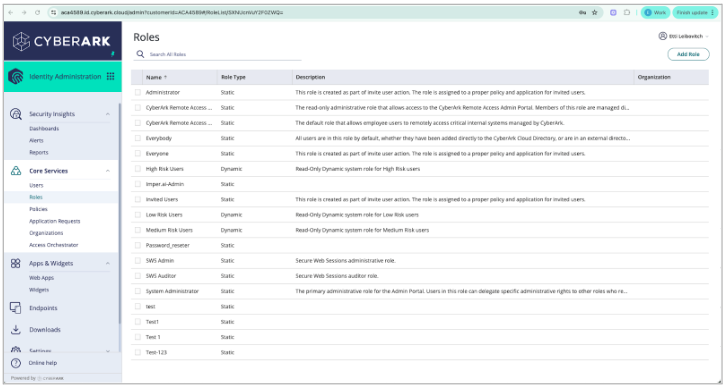
In CyberArk, navigate to Core Services > Roles > Add Role.
Provide a Name and Description, and click Save.
Under Members > Add, select the service user you created earlier and click Add.
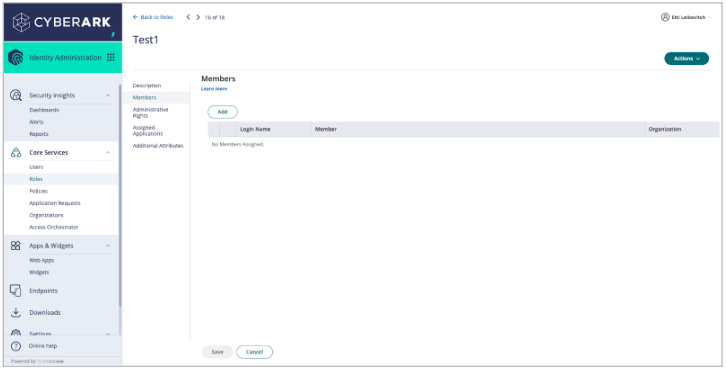
Under Administrative Rights > Add, choose User Management and click Add.

Under Assigned Applications > Add, select Imper and click Add.

Click Save to finalize the role configuration.
Connect CyberArk in imper.ai
When your CyberArk credentials are ready:
If required, log back in to the imper.ai console using admin credentials.
Click Integrations in the left navigation panel.
Locate CyberArk under Internal System Integrations.
Click Connect.
Enter the following credentials from your CyberArk configuration:
Tenant URL
Client ID
Client Secret
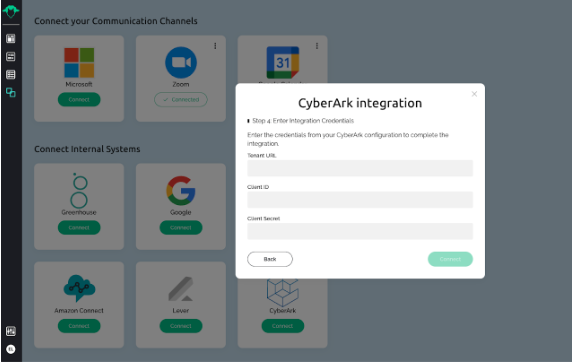
Click Connect to complete the integration.
Once connected, CyberArk appears under My Integrations as Connected.