
Appearance
Overview
Integrating Microsoft Intune with imper.ai allows the platform to collect device telemetry from your Intune-managed devices so that imper.ai can verify the devices participating in your workforce identity flows.
Once connected, imper.ai reads your device inventory and group memberships through Microsoft Graph, and you self-deploy the imper.ai device collector script to the devices you want monitored - at your own discretion and on your own schedule.
This article walks you through the required prerequisites and the steps for connecting your tenant, granting the required Graph permissions through admin consent, selecting the device groups to monitor, and completing the integration inside imper.ai.
Note: imper.ai only reads device and group information. The collector script that gathers device telemetry is deployed by you, not by imper.ai. See Step 4 for deployment guidance.
Prerequisites
To integrate Microsoft Intune with imper.ai, you must be a Microsoft Entra administrator with privileges to grant tenant-wide admin consent to an enterprise application, and your devices must be enrolled in Microsoft Intune.
You will also need your Microsoft Entra tenant ID, available in the Microsoft Entra admin center under Overview.
We recommend creating or identifying a dedicated Entra group containing the devices you want imper.ai to monitor, so the integration scope is clear and easy to maintain.
Setup
Step 1: Connect your tenant in imper.ai
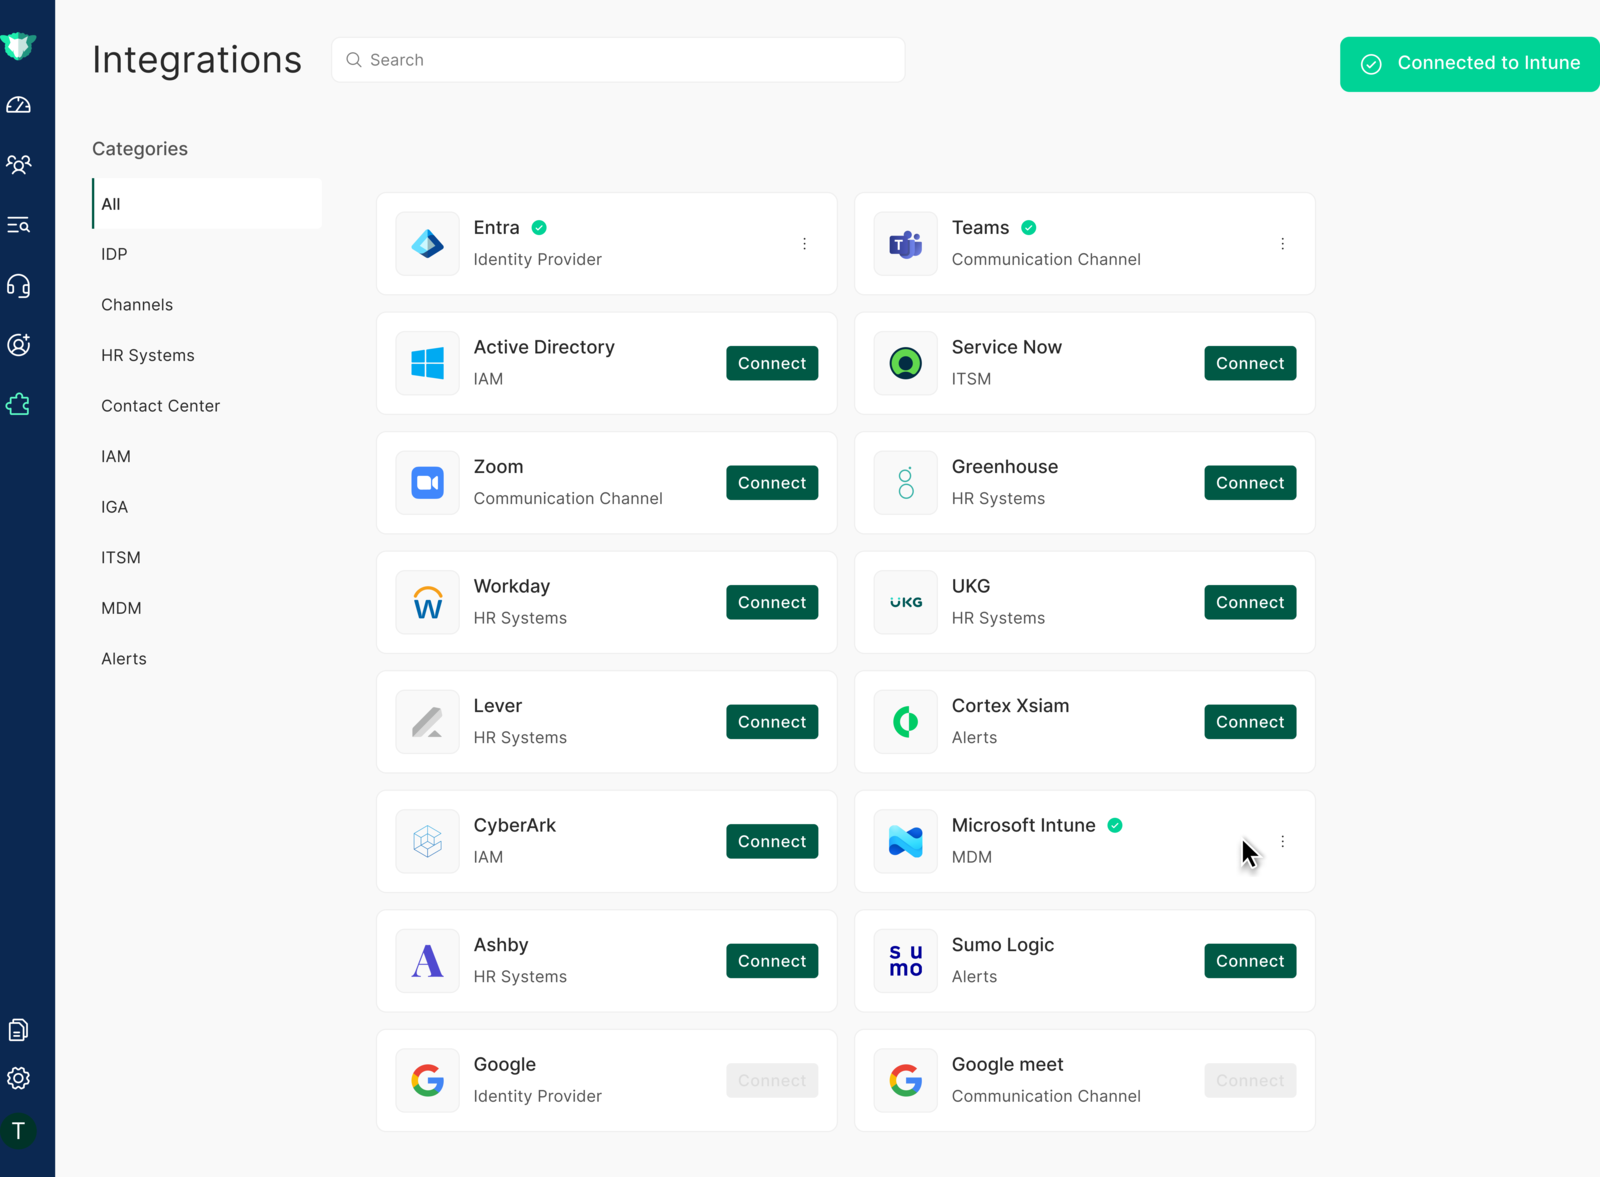
- Log in to the imper.ai admin Integrations page.
- Locate Microsoft Intune (under the MDM category) and click Connect.
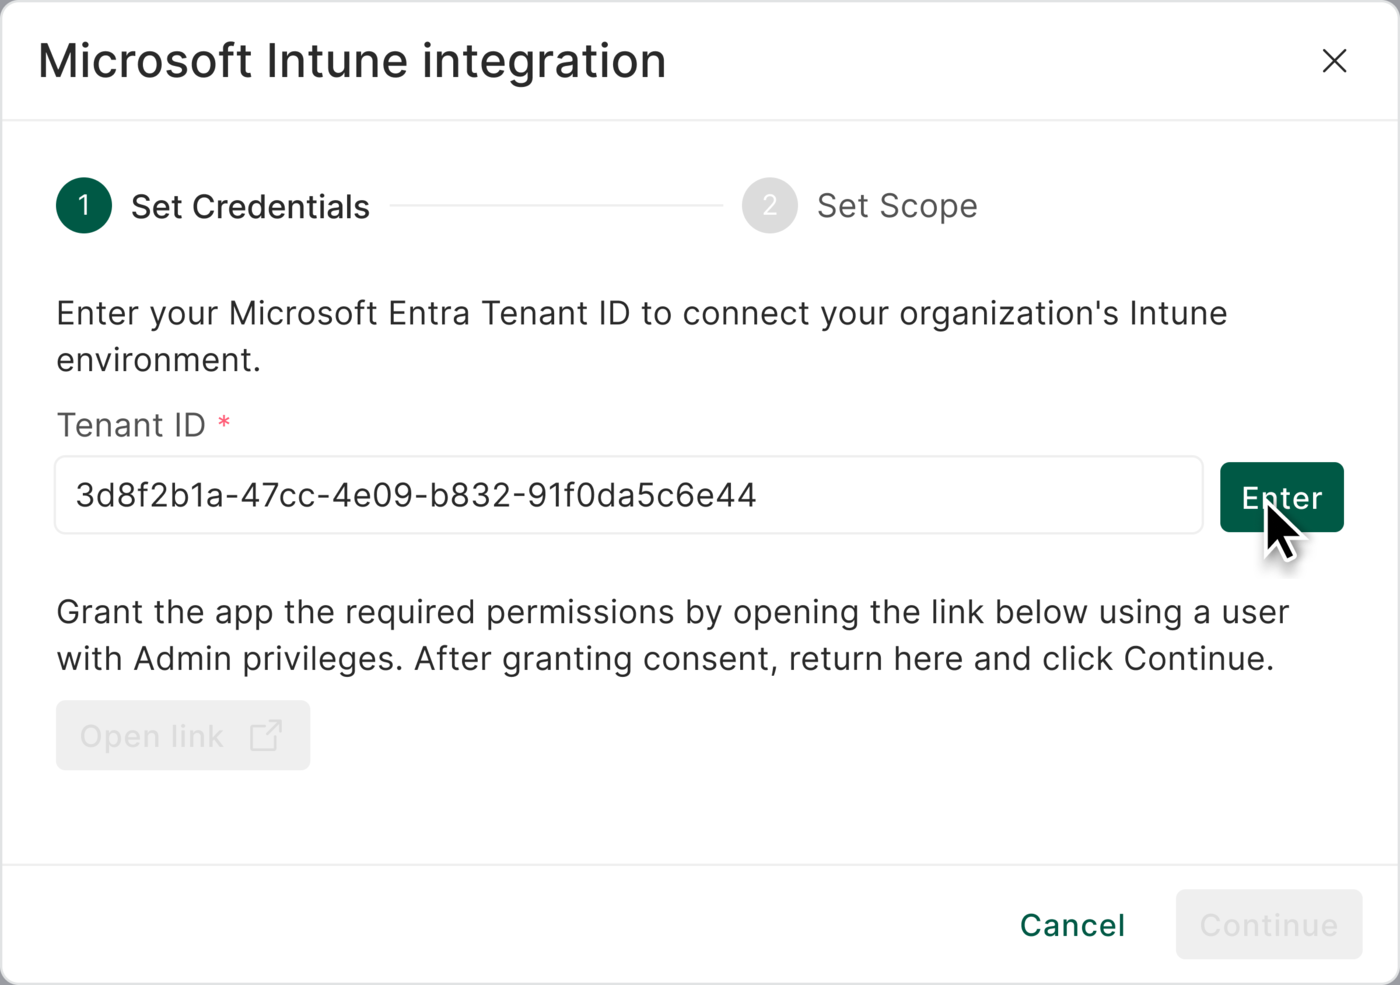
- In the integration dialog, enter your Microsoft Entra tenant ID, then click Enter.
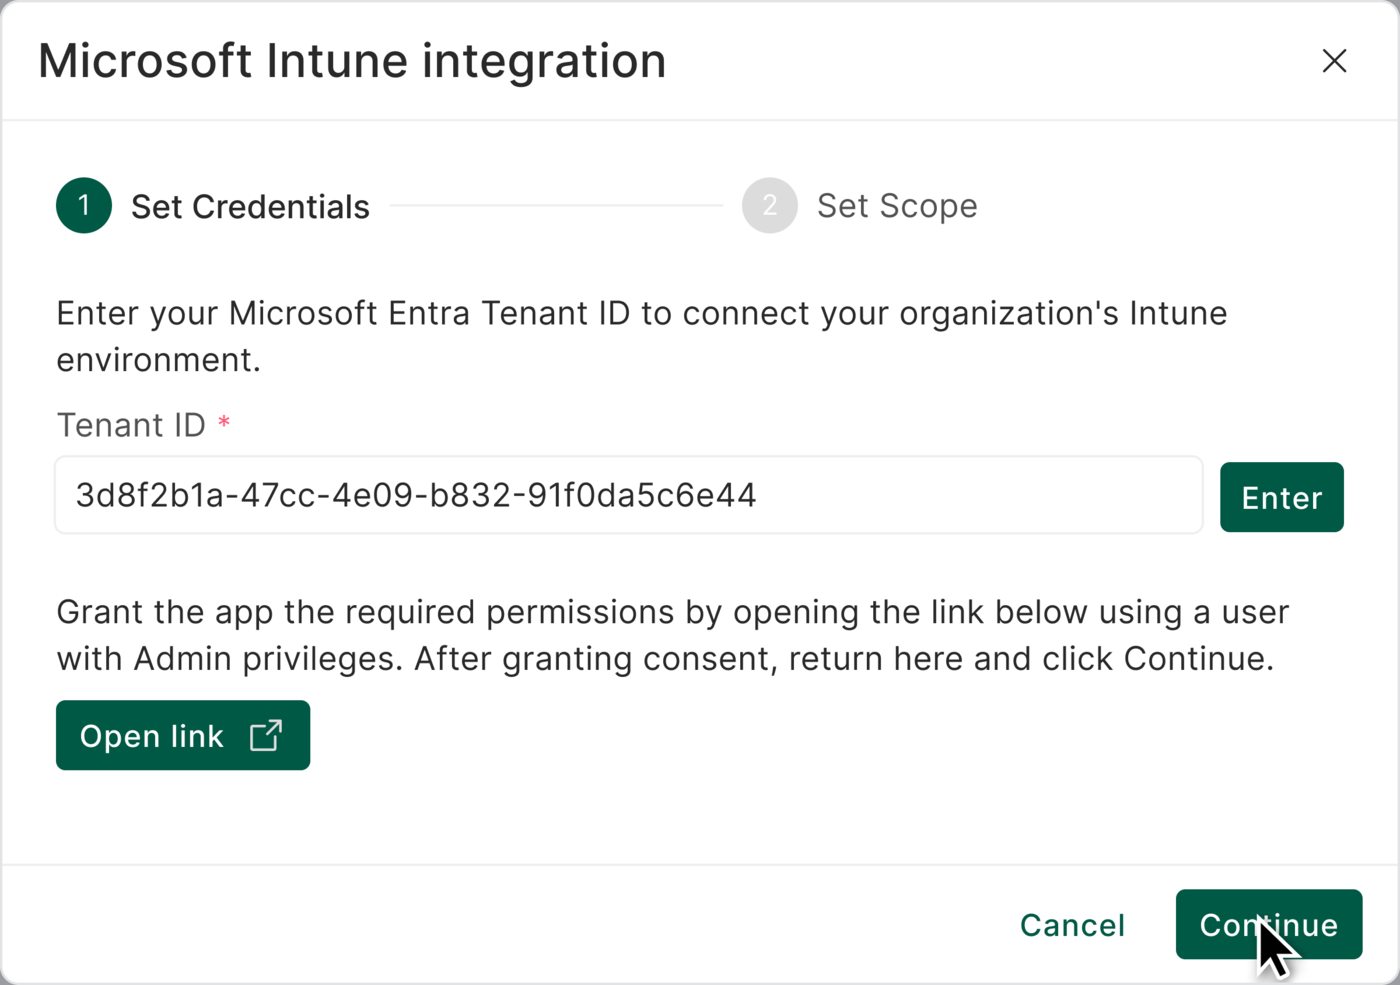
- imper.ai presents an admin consent link for the imper.ai Intune application. Use Copy to copy the link, or Open link to launch it directly.
- Click Continue to proceed to the Microsoft consent screen.
Step 2: Grant admin consent
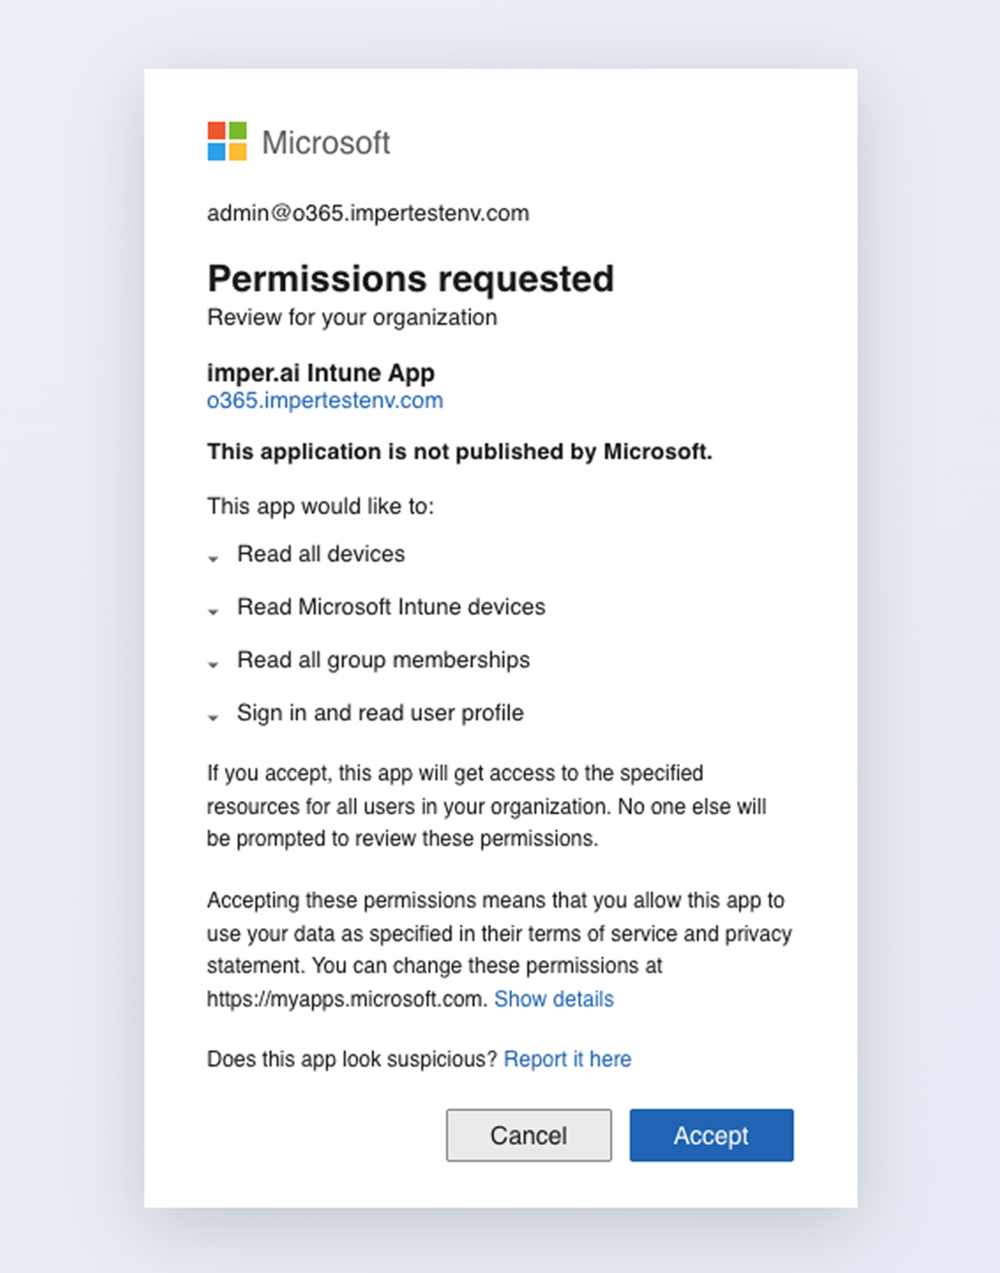
The admin consent link opens the Microsoft permissions screen for the imper.ai Intune application. Review and accept the following Microsoft Graph permissions, which are the only permissions imper.ai requests:
- Device.Read.All - view device objects in the Entra directory.
- DeviceManagementManagedDevices.Read.All - view devices in the Intune managed devices service.
- GroupMember.Read.All - view basic group properties and read group memberships (used to show how many devices are in a monitored group).
Click Accept to grant consent. Microsoft redirects you back to imper.ai and the integration advances to group selection.
Note: imper.ai requires no permissions beyond the three read-only scopes listed above. These permissions allow imper.ai to view your device inventory and group counts only; they do not allow imper.ai to modify devices, deploy software, or read user content.
Step 3: Select the device groups to monitor
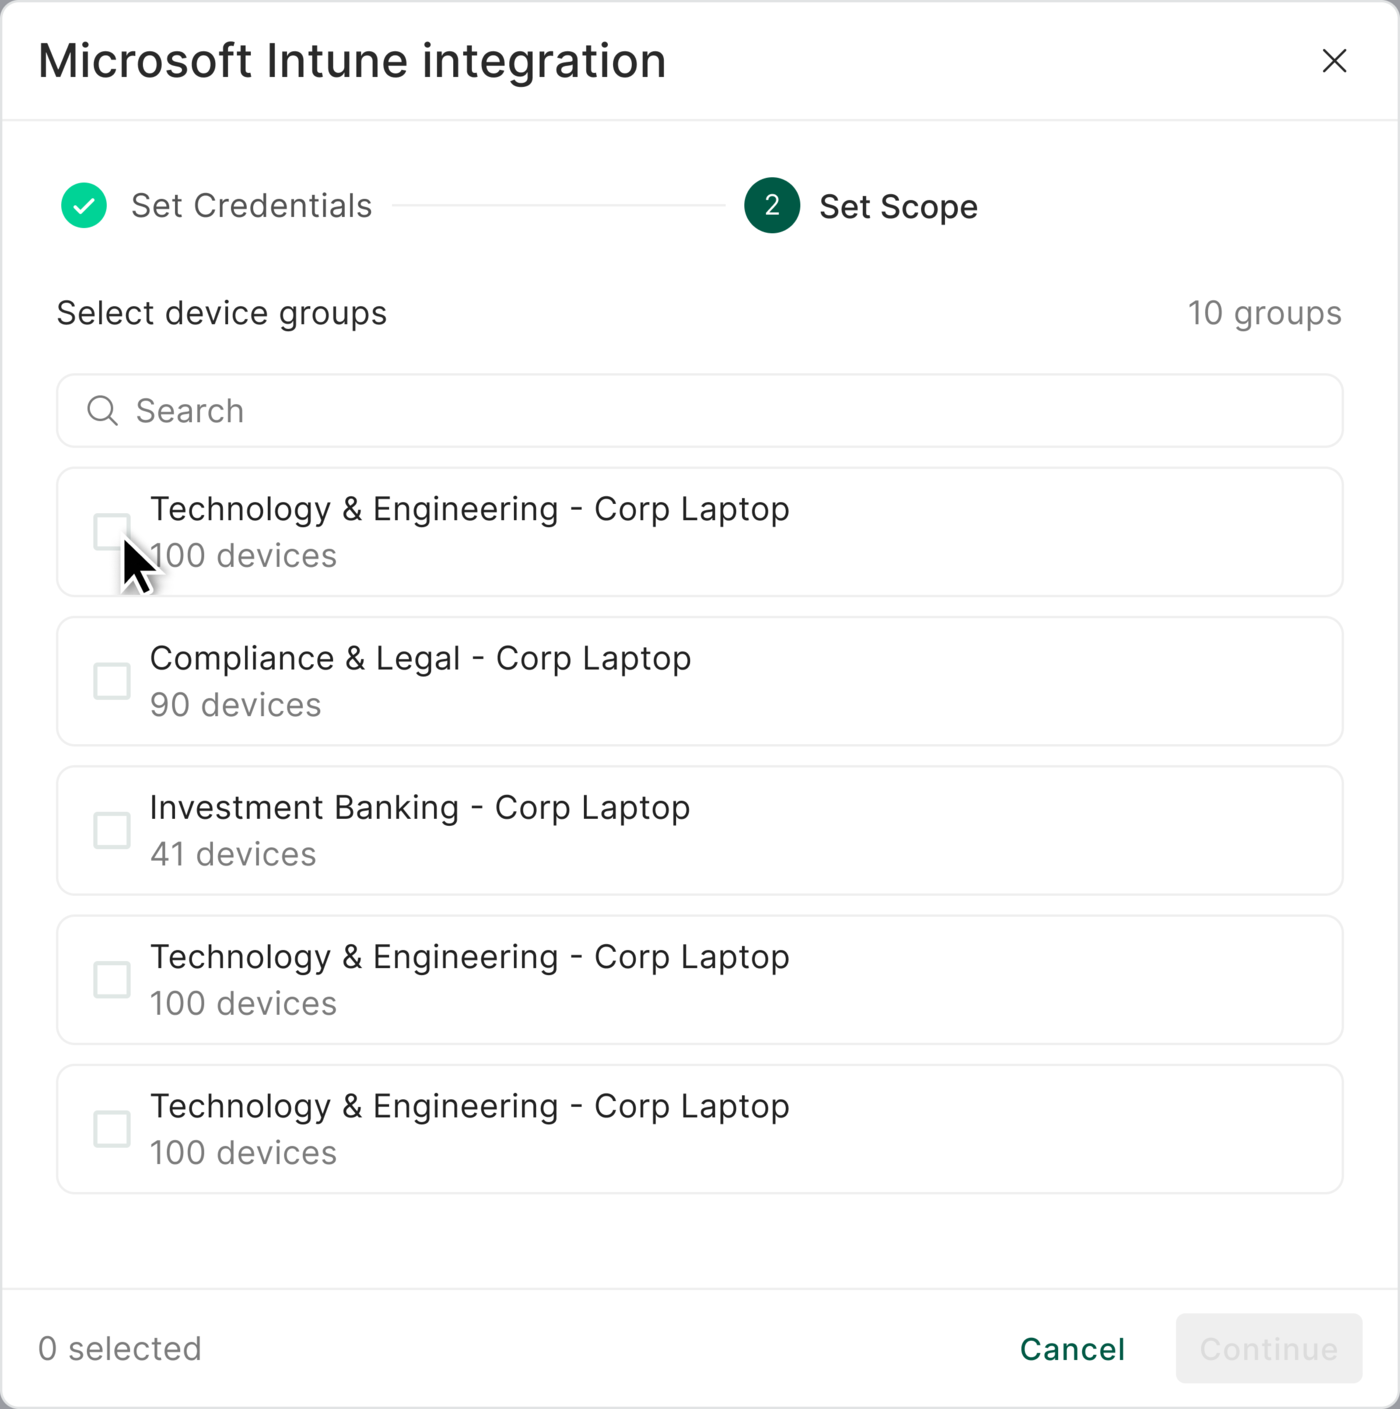
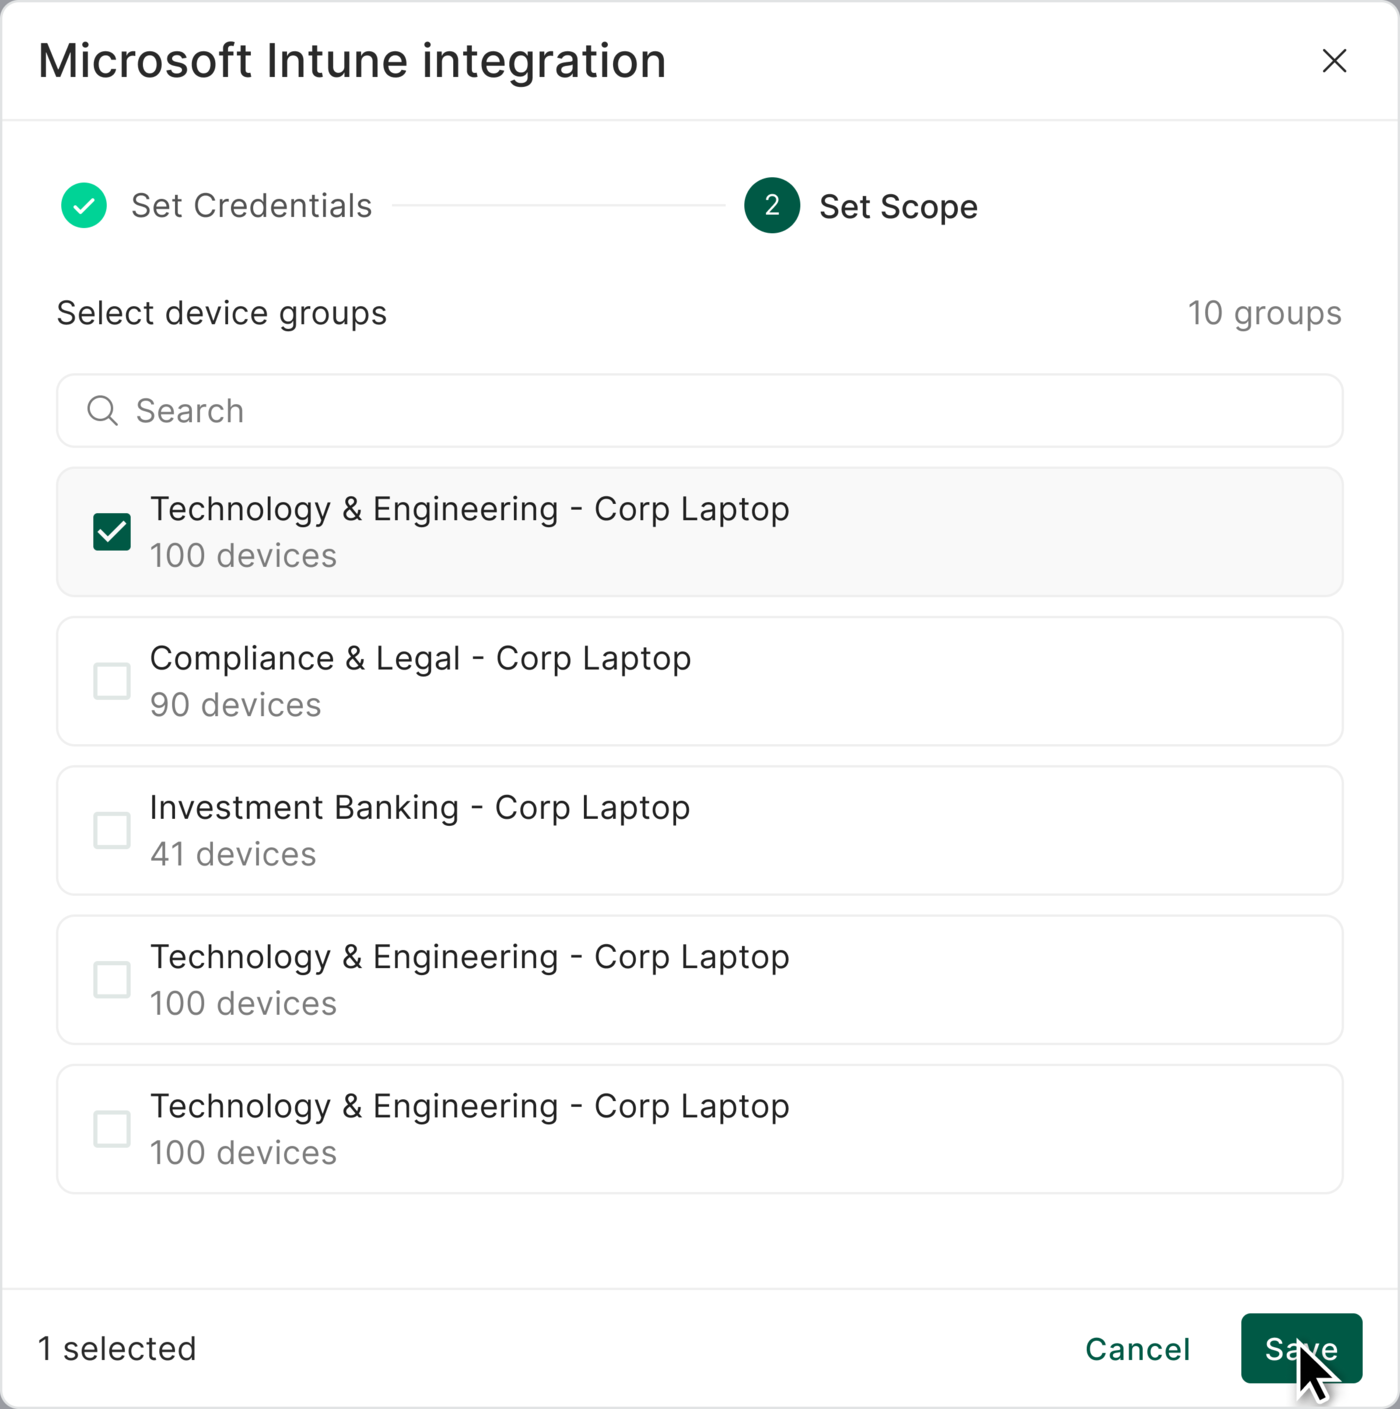
After consent, imper.ai displays a searchable, multi-select list of Entra groups.
Start typing to search for one or more groups by name, then select them.
Note: Entra groups are global and may contain users, devices, or other groups, so every group in your organization is listed. Select the group(s) that contain the devices you intend to monitor.
Each group displays its device count, so you can confirm the expected number of devices before continuing.
Note: The device count is indicative only. It reflects the membership of the selected group - if you later deploy the collector script to a different set of devices, the count shown here will not match the devices actually monitored.
Click Save to apply the configuration.
Step 4: Deploy the collector script
After you click Save, imper.ai surfaces the device collector script and deployment instructions.
For Windows devices, imper.ai provides a PowerShell script (.ps1). Deploy it to your devices using an Intune platform script or device configuration assignment - for example, navigate to Devices > Scripts and remediations > Platform scripts in the Microsoft Intune admin center, upload the .ps1 file, and assign it to the device group you selected in Step 3.
NOTE
Deployment is performed by you - imper.ai does not push the script to your devices. Deploy at your own discretion and on your own schedule.
Once the collector runs on a device, that device's telemetry becomes available to imper.ai for verification.
Related articles
- Integrating Iru with imper.ai - Integrations > Internal Systems
- Integrating Okta with imper.ai - Integrations > Internal Systems
- Getting Started with imper.ai - Platform Overview
Need help or have a question? support@imper.ai