
Appearance
Verify with Okta Verify confirms a user's identity with a push to the Okta Verify app on their phone, instead of verification questions. The user approves the push by tapping a matching number, and that's it: no questions, no call, no document.
Users who don't have Okta Verify, or can't use it right now, verify another way, as set in your organization's Verification Escalation setting.
Requirements
- Okta is connected in imper.ai. See Integrating Okta with imper.ai.
- Okta Verify allows push notifications.
- The user has Okta Verify set up on their phone and is in a group covered by the imper.ai app's admin role.
How It Works
When a user starts a verification and has Okta Verify on their phone, imper.ai replaces the verification questions with an Okta Verify push:
- imper.ai sends a push to the user's Okta Verify app.
- The verification page shows a number. Okta picks it; it can't be chosen or typed by the user.
- The user opens the push on their phone and taps the same number out of three choices.
- imper.ai receives the approval from Okta and the verification continues, usually in under a minute.
If the user taps the wrong number, rejects the push, or doesn't respond in time, the push fails and the user doesn't pass this step.
Users Without Okta Verify
Not everyone has Okta Verify. For those users, the fallback is the option your organization sets under Verification Escalation in Helpdesk Settings. It applies to every user in the organization. Fallback options:
- Verify with Manager - the user's manager approves by email.
- Verify with Document - the user scans a government-issued ID.
The End-User Experience
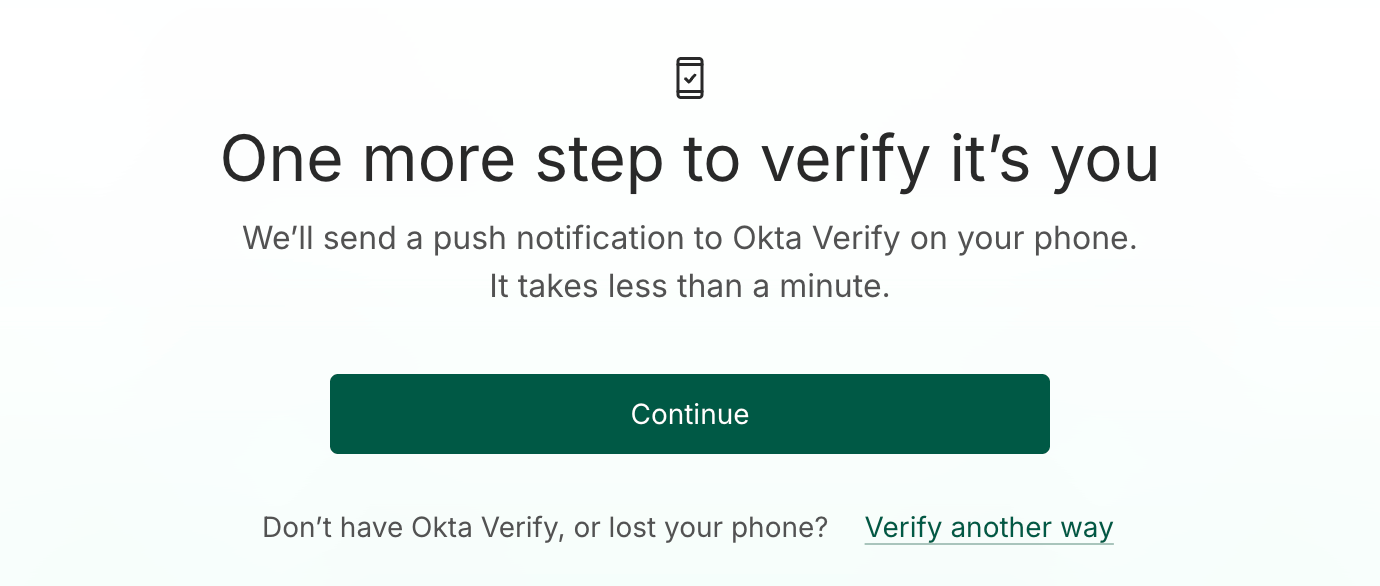
Step 1 - Prompted to verify with Okta Verify
The user is told they'll get a push in Okta Verify. If they don't have Okta Verify or lost their phone, they click Verify another way and go to the fallback set in Verification Escalation.
Step 2 - Check your phone
After clicking Continue, the page shows the number to tap and what to expect on the phone. The user stays on this page; it moves on as soon as they approve.
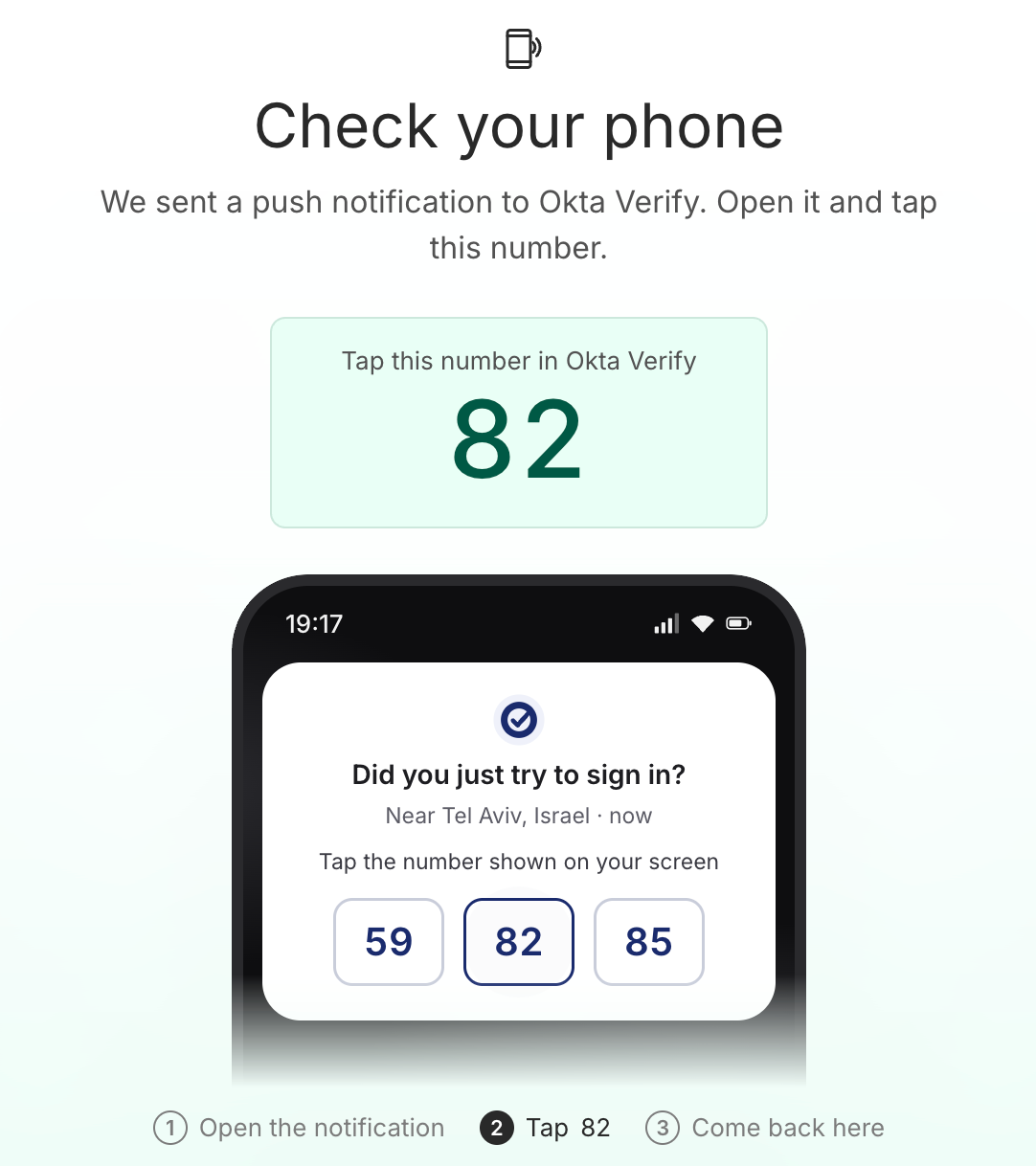
If the push doesn't arrive, the user can click Didn't get it? Send again, or open the Okta Verify app, where the pending request shows up.
Step 3 - Approve on the phone
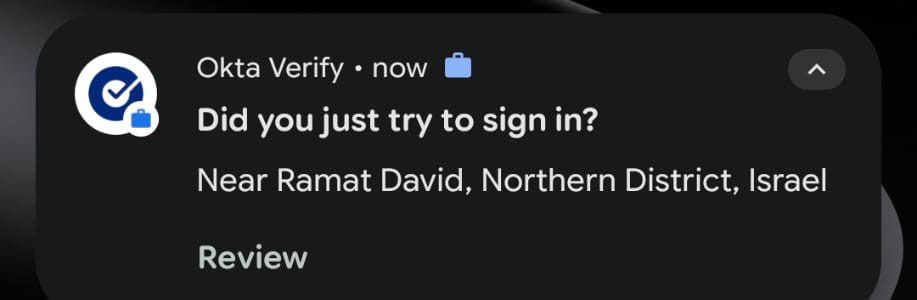
The user receives a standard Okta Verify notification, opens it, confirms it's them, and taps the number shown on the verification page. Depending on your Okta Verify settings, the phone may also ask for its PIN, fingerprint or face, just as it does when the user signs in to Okta.
NOTE
The text in the Okta Verify app is Okta's and can't be changed. It reads like a sign-in prompt ("Did you just try to sign in?"). The location and device it shows are the user's own, from the browser they're verifying in.
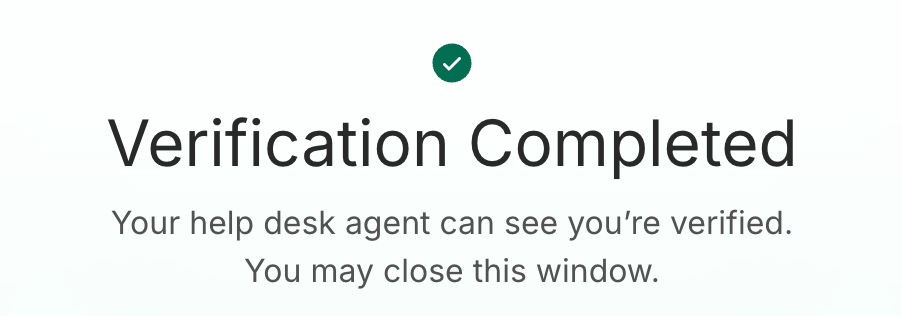
Step 4 - Verified
Once the user taps the right number, the verification completes. The help desk agent sees the user as verified, and the user can close the window.
Troubleshooting
| Issue | What to do |
|---|---|
| The push doesn't arrive | Open the Okta Verify app; the pending request shows there. Or click Send again for a new push and number. |
| The user has no Okta Verify, or lost their phone | Click Verify another way to use the fallback set in Verification Escalation. |
| The user only has Okta FastPass | FastPass-only enrollments can't receive a push from imper.ai. The user goes to the fallback, or sets up Okta Verify with push. |
| The user isn't found in Okta | The user is outside the groups the imper.ai app's admin role covers. See Choosing the admin role. |